Coating thickness gauge ComBi D3®
Combined coating thickness measurement on ferrous and non-ferrous substrates
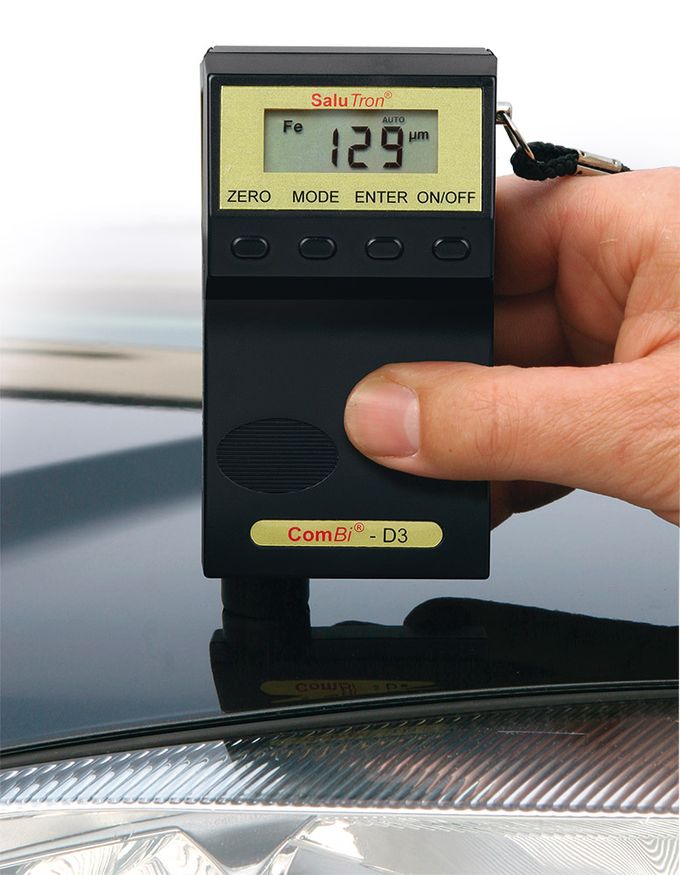
The gauge allows the user to make all the necessary adjustment with the aid of a menu - changes can therefore be implemented quickly and simply with a minimum amount of fuss. These features as well as others, make the practical hand-held pocket-sized gauge an indispensable aid in the quest for quality control and other applications, where ease of use and high-speed measurements with impeccable accuracy are desired.
ComBi D3® measures all non-magnetic coatings such as synthetics, lacquers, enamels, copper, chromium, zinc, etc. on steel or iron and all isolating coatings such as lacquers, synthetics, enamels, paper, glass, rubber, etc. on copper, aluminium or brass. This includes eloxal coatings on aluminium as well.
Characteristics
- Easy to use
- Large measuring range: 0 to 3.5 mm
- Measurement type - single-point or continuous
- Vibrations do not influence the measurement
- Wear resistant, spring-loaded ruby probe
- Measurement result can be displayed in µm/mm or mils
- Gauge can be switched on/off manually or automatically
- Visual alarm if the coating thickness exceeds the maximum range
- Integrated probe - for single-handed use
- Easy set-up - just follow the menu
- Requires no timely re-calibration for different materials
- The V-groove assists in the placement of the probe on spherical surfaces (eg. rods, pipes, etc.)
Coating thickness gauge
ComBi D3® plus
The ComBi D3® plus is even more comfortable. A large Memory, Infrared sender, USB interface for data transfer and software with statistic functions enable you to save and work with the measurement results.
Additional accessories
- Infrared sender
- Interface for USB cable
- Memory with 8192 storage cells, dividable in max. 99 blocks
- Statistic functions
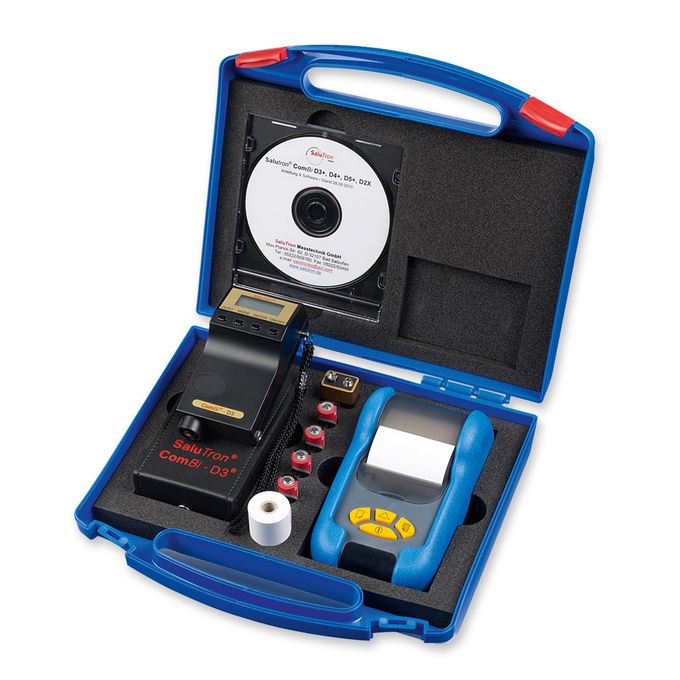
Measuring case with ComBi D3 plus
- Robust plastic service case
- ComBi D3® plus – Gauge with supporting loop, battery, leather bag, inbuilt zero plates and manual
- Mini-Infrared-Printer SP100
- Statistic functions
- Software on CD with statistic functions
- Spare batteries
- Spare paper roll
- USB cable
Application of coating thickness gauges
- paint shops
- car insurances
- car experts/inspectors
- automotive industry
- shops
- quality control
- bridge construction
- ship construction
- stock receipt
- production processes
- laboratory
Standard delivery range
- SaluTron ComBi D3 or SaluTron ComBi D3 plus©
- Carrying case, which includes the zero plate
- Battery
- Manual
Optional accessory plus-Version
- USB cable
- Software on CD
- Mini-Infrared-Printer SP100 for wireless data transfer
Downloads
Specifications
All SaluTron® gauges correspond to national (DIN) and international (ISO, BS, ASTM) norms and possess the CE-sign.
Specifications are subject to change without prior notice.
| Substrate | Steel or Iron and non-magnetic metals such as zinc, copper, brass, aluminium, stainless steel | ||||
| Continuous measuring range | 0 - 3500 µm or 0 - 140 mils | ||||
| Display of measured values | 0 - 999 in µm, 1.00 - 3.50 in mm or 0 - 140 in mils | ||||
| Resolution |
| ||||
| Accuracy | ± (1,5 µm + 2%) from 0 - 999 µm ± 3.5% from 1000 - 3500 µm | ||||
| Minimum object size | 10 x 10 mm or 0.4" x 0.4" | ||||
| Minimum curvature |
| ||||
| Minimum substrate thickness |
| ||||
| Temperature range |
| ||||
| Display | 4-digit liquid crystal display (LCD) | ||||
| Probes | Single point | ||||
| Power supply | 9V E Block Alkali | ||||
| Dimension (L x W x H) | 118 x 58 x 38 mm or 4.6" x 2.3" x 1.5" | ||||
| Weight | approx. 150 g or 5.3 oz incl. battery |
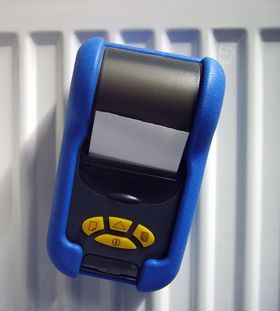
Mini-Infrared-Printer SP 100

The infrared pocket printer SP 100 completes the functions of ComBi D3®. An adapter enables wireless data transfer to print out measured and statistic values.
Other features are:
- Thermal printing process
- Magnetic surface to stick on metal
- Universally applicable with other gauges
- High printing speed (one print line = 24 signs per second)
- Transfer distance from gauge to printer: up to 4.5 m
- Very robust and handy
- Size (length x width x height): only 15.5 x 9.2 x 6.5 cm or 6.1” x 3.6” x 2.5”
- Independent of mains supply (four AA Alkali-batteries)
The SP 100 sticks on metal surfaces. Two strong magnets are embedded underneath the rubber coating.


